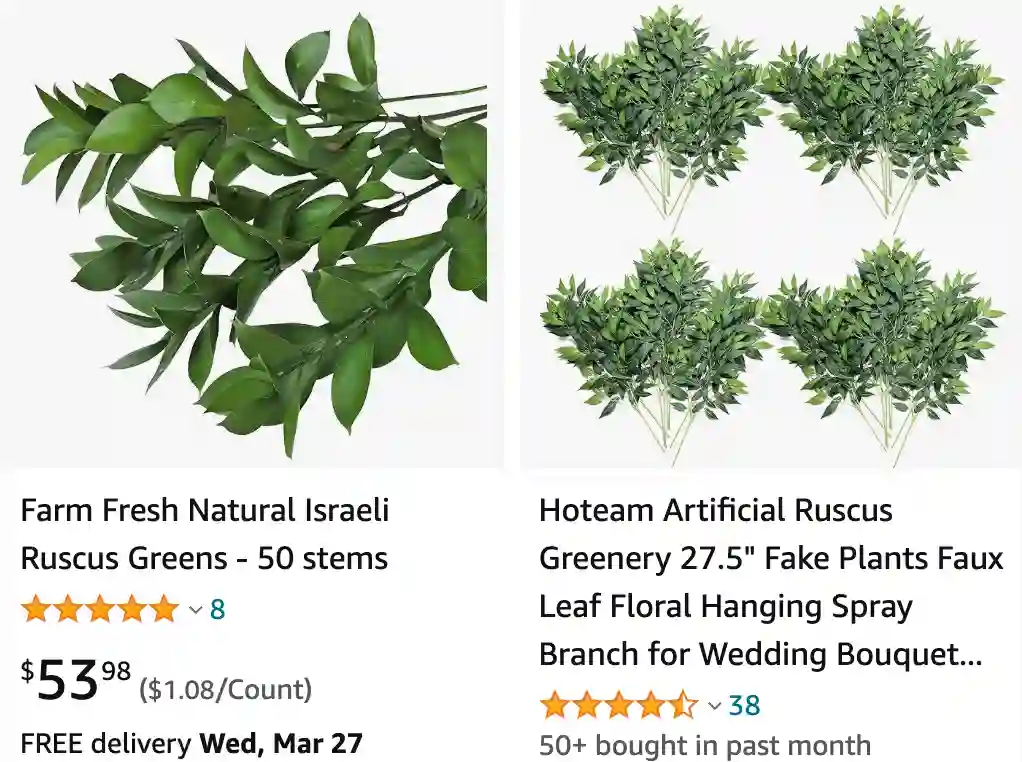
What is Israeli Ruscus?
Israeli Ruscus, also known as Ruscus hypoglossum or butcher’s broom, is a versatile evergreen plant prized for its long, slender stems with small, glossy green leaves. It’s commonly used in floral arrangements, bouquets, and various decorative crafts due to its elegant appearance and long-lasting foliage.
Israeli Ruscus vs Italian Ruscus
I find Israeli Ruscus to have a more robust and darker green foliage compared to the delicate and lighter appearance of Italian Ruscus. In arrangements, Israeli Ruscus adds a bold contrast and longevity, while Italian Ruscus lends a softer, airy feel that complements floral displays beautifully.
How long does Israeli Ruscus last?
Israeli Ruscus can last for several weeks to months when properly cared for. Its sturdy stems and leaves make it an excellent choice for floral arrangements and other decorative purposes where longevity is desired.
How to grow Israeli Ruscus?
To grow Israeli Ruscus, choose a well-draining potting mix and a location with bright, indirect light. Water the plant regularly to keep the soil evenly moist but not waterlogged. Israeli Ruscus prefers moderate temperatures and can benefit from occasional misting to increase humidity, especially in dry indoor environments.
Is Israeli Ruscus poisonous to cats?
As far as I know, Israeli Ruscus is not considered poisonous to cats. However, it’s always a good idea to monitor pets around plants and consult with a veterinarian if you have any concerns about their safety.
Where to buy Israeli Ruscus plant?
You can buy Israeli Ruscus plants from local nurseries, florists, or online plant shops that specialize in cut flowers and foliage. They’re relatively popular and should be readily available, especially in areas with a mild climate.
How to propagate Israeli Ruscus from cuttings?
Israeli Ruscus can be propagated from stem cuttings. Take a 4 to 6-inch cutting from a healthy, mature plant and remove any lower leaves. Place the cutting in a container with well-draining potting mix and keep it consistently moist until roots develop.
How to root Israeli Ruscus?
To root Israeli Ruscus cuttings, place them in a container with water, making sure the nodes are submerged. Change the water regularly to prevent stagnation and rot. Roots should begin to develop within a few weeks, at which point the cuttings can be transplanted into soil.
How to dry Israeli Ruscus?
To dry Israeli Ruscus, hang the stems upside down in a cool, dry location with good air circulation. Allow the foliage to dry naturally, which can take several days to a few weeks depending on environmental conditions.
How to string Israeli Ruscus together?
Israeli Ruscus stems can be easily strung together using floral wire or twine to create garlands, wreaths, or other decorative accents. Simply thread the wire or twine through the stems and secure them in place, overlapping slightly for a full and lush appearance.
Is Israeli Ruscus good for flower crowns?
Israeli Ruscus is popular for use in flower crowns due to its long, flexible stems and elegant foliage. It adds a touch of greenery and texture to floral arrangements and complements a wide variety of blooms.
What does Israeli Ruscus look like dried?
When dried, Israeli Ruscus retains its glossy green color and slender shape, making it a versatile and attractive addition to dried flower arrangements, wreaths, and other decorative crafts.
What is the difference between Italian Ruscus and Israeli Ruscus?
The main difference between Italian Ruscus and Israeli Ruscus lies in their botanical names and origin. Israeli Ruscus (Ruscus hypoglossum) is native to the Mediterranean region, while Italian Ruscus (Ruscus aculeatus) is native to Europe. While they share similar characteristics, such as evergreen foliage and slender stems, they may vary slightly in appearance and growth habits.
Will Israeli Ruscus root in water?
Israeli Ruscus can root in water, making it easy to propagate from stem cuttings. Simply place the cuttings in a container with water, ensuring the nodes are submerged. Change the water regularly to prevent stagnation and rot, and roots should begin to develop within a few weeks. Once roots have formed, the cuttings can be transplanted into soil.
If i die, water my plants!
