Amsonia Ciliata vs Amsonia Hubrichtii
I’ve found that Amsonia Ciliata’s vibrant blue flowers add a stunning touch to my garden, while Amsonia Hubrichtii’s fine, thread-like foliage gives it a unique texture.
Amsonia Hubrichtii vs Tabernaemontana
When comparing Amsonia Hubrichtii with Amsonia Tabernaemontana, I noticed that Tabernaemontana’s glossy leaves and fragrant white flowers offer a different, more tropical aesthetic than the airy look of Amsonia Hubrichtii.
17 Species in Genus Amsonia
How to grow Amsonia hubrichtii?
Here’s a guide on how to grow Amsonia hubrichtii, commonly known as Blue Star or Leadplant:
Sunlight:
- Thrives in Full Sun to Partial Shade: Amsonia hubrichtii prefers full sun exposure for optimal growth and flowering. However, it can tolerate some light shade, especially in hotter climates.
Soil:
- Prefers Well-Drained Soil: Amsonia hubrichtii does well in average, moist soil with good drainage.
- Adapts to Various Soils: It can adapt to a range of soil types, including sandy or clay soils, as long as drainage is adequate. Amending the soil with compost or organic matter can improve drainage in heavier soils.
Planting:
- Spring or Fall is Ideal: The best time to plant Amsonia hubrichtii is in spring or fall when the temperatures are mild.
Planting Steps:
- Choose a location that meets the sunlight requirements and has well-drained soil.
- Dig a hole 2-3 times wider than the root ball of your Amsonia hubrichtii and just as deep.
- If your soil is heavy clay, amend the planting hole with compost or organic matter to improve drainage.
- Carefully remove the plant from its pot (if container-grown) and gently loosen any pot-bound roots.
- Place the Amsonia hubrichtii in the hole, ensuring the root crown (the area where the stem meets the roots) sits at or slightly above the surrounding soil level.
- Backfill the hole with the amended soil mix, tamping it down gently to remove air pockets.
- Water thoroughly to settle the soil around the roots.
Watering:
- Water Regularly During Establishment: Water regularly, especially during the first growing season, to keep the soil consistently moist but not soggy. This helps the plant establish its root system.
- Established Plants are Drought Tolerant: Once established, Amsonia hubrichtii is quite drought tolerant. You can water occasionally, especially during prolonged dry periods. Signs of thirst include wilting leaves.
Fertilizing:
- Low Maintenance: Amsonia hubrichtii is not a heavy feeder. A light application of a balanced fertilizer in early spring is sufficient. Avoid over-fertilizing, as it can lead to weak, leggy growth and reduce flowering.
Aftercare:
- Low-Maintenance: Amsonia hubrichtii is a low-maintenance plant once established. It doesn’t require any deadheading or special pruning.
- Dividing (Optional): Every few years (usually every 3-4 years), you can divide mature Amsonia plants in spring or fall to propagate new plants and maintain vigor. Simply dig up the clump, separate the divisions with healthy roots and shoots, and replant them in separate locations.
Additional Tips:
- Deer Resistant: Amsonia hubrichtii is generally resistant to deer browsing, making it a good choice for areas with deer problems.
- Pests and Diseases: Generally pest and disease resistant. However, watch for common garden problems like aphids or powdery mildew. You can address these issues with insecticidal soap or neem oil if necessary.
- Winter Care: Amsonia hubrichtii is cold hardy to USDA zones 3-8. It can tolerate freezing temperatures without any special winter protection. In colder climates (zone 3), you can provide a light layer of mulch around the base of the plant for extra winter insulation.
How to divide Amsonia hubrichtii?
Dividing Amsonia hubrichtii was a bit daunting at first, but it turned out to be fairly straightforward. I waited until early spring, just as new growth was beginning to show. Using a sharp spade, I carefully dug up the clump, making sure to keep a good amount of soil around the roots. Then, I divided the clump into smaller sections, each with several stems and a healthy root system. Replanting them immediately in well-prepared soil, I made sure to water them well to help them settle in.
How to germinate Amsonia hubrichtii seeds?
Germinating Amsonia hubrichtii seeds was a bit of a patience game, but it was exciting to watch them sprout. I collected seeds in the fall and kept them in the refrigerator for a few months to simulate winter conditions, a process called stratification. In late winter, I sowed the seeds in a tray of moist seed-starting mix, lightly covering them with soil. I kept the tray in a warm, sunny spot, and after several weeks, tiny seedlings began to appear. Once they were big enough to handle, I transplanted them into individual pots before eventually moving them to the garden.
When to plant Amsonia hubrichtii seeds?
Planting Amsonia hubrichtii seeds in the garden worked best for me in the early spring. This timing allowed the seeds to benefit from the warming soil and longer daylight hours. I chose a spot with full sun and well-draining soil, and after preparing the bed by loosening the soil and adding some compost, I sowed the seeds directly into the ground. Lightly covering them with soil, I kept the area moist until the seedlings emerged, usually in a few weeks.
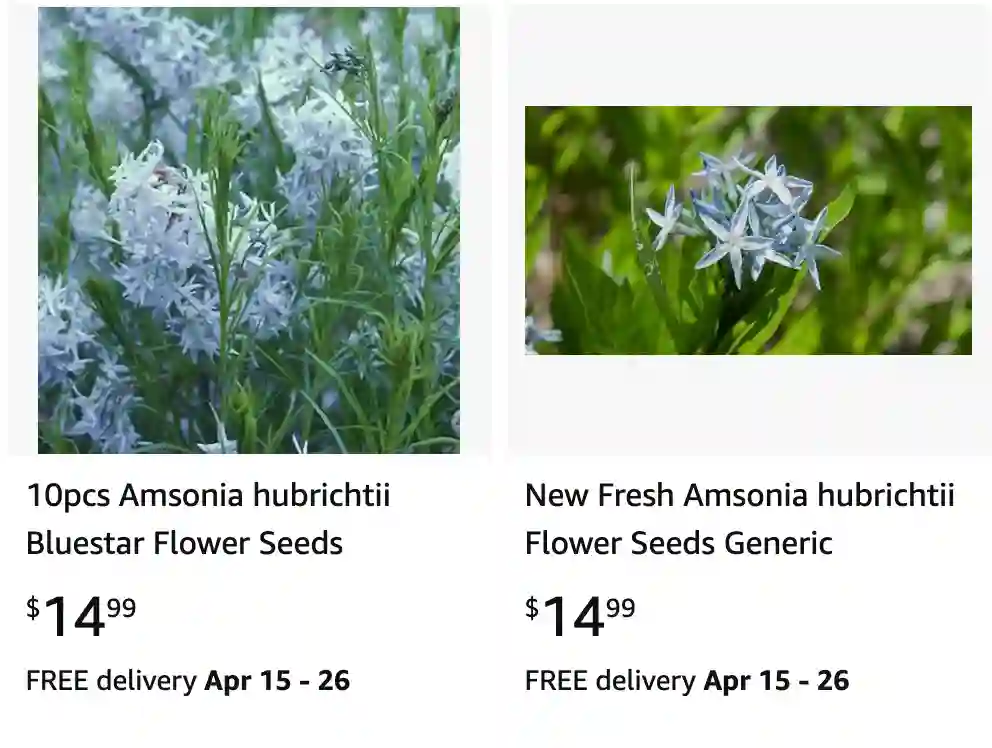
Where to buy Amsonia hubrichtii?
Finding a good source to buy Amsonia hubrichtii was crucial for me. I checked out several local nurseries and gardening centers, which sometimes had them in stock. However, I found the best selection online from reputable plant nurseries specializing in native plants. Sites like Prairie Moon Nursery and Bluestone Perennials offered healthy plants and seeds, with detailed information on how to care for them. Ordering online was convenient, and the plants arrived in great condition, ready to be planted in my garden.
If i die, water my plants!
