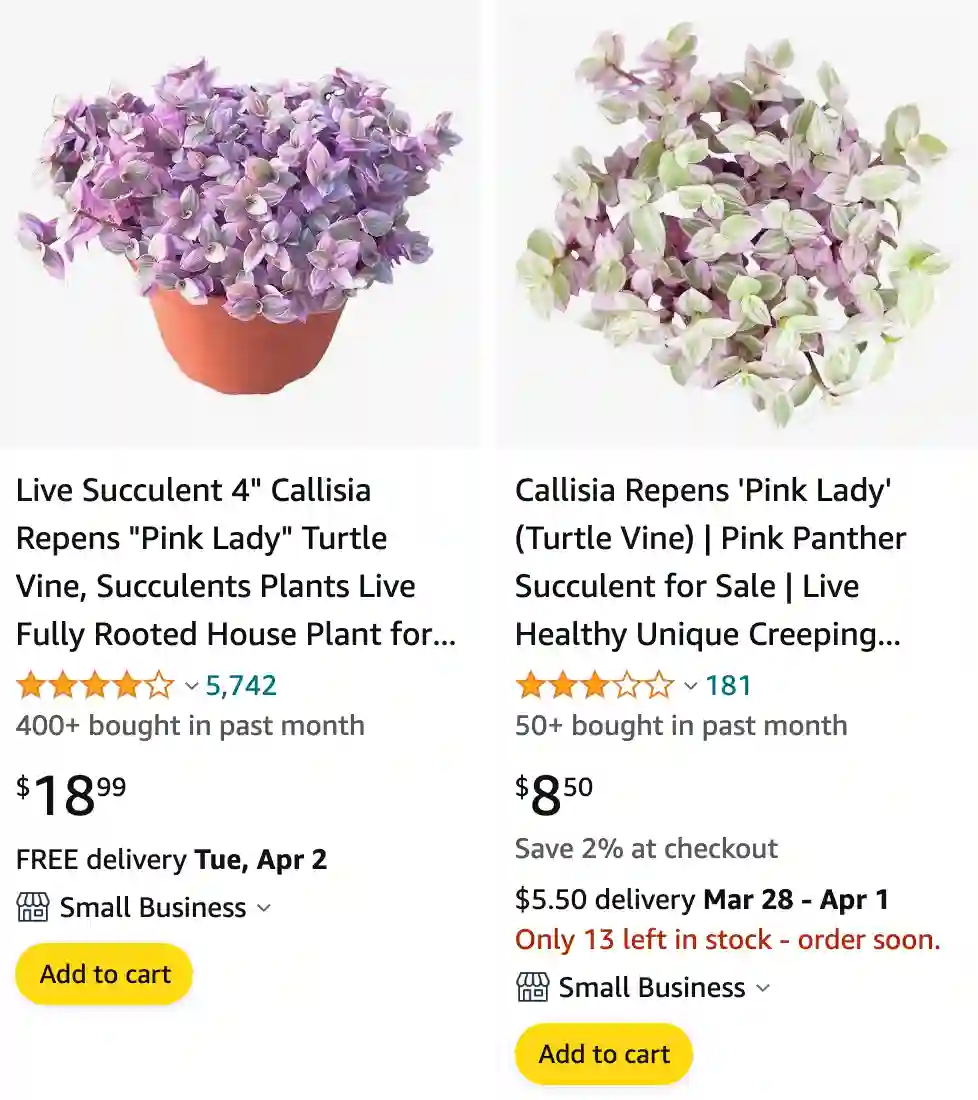
Callisia Repens vs Tradescantia
When comparing Callisia Repens and Tradescantia, I find Callisia Repens easier to manage as its compact growth fits perfectly on my window sill, while Tradescantia’s trailing vines add a lively touch to hanging baskets around my home.
19 Species in Genus Callisia
Is callisia repens toxic to cats?
Callisia repens, commonly known as Bolivian Jew or Turtle Vine, is a popular houseplant appreciated for its trailing habit and small, colorful leaves.
Regarding toxicity to cats, information is somewhat conflicting. Some sources suggest that Callisia repens is non-toxic to cats, while others advise caution due to the potential for mild gastrointestinal upset if ingested. It’s always best to keep plants out of reach of pets and monitor them for any signs of chewing or ingestion.
How to care for callisia repens?
- Light: Provide bright, indirect sunlight for optimal growth. Callisia repens can tolerate partial shade but may become leggy if light levels are too low.
- Watering: Allow the top inch of soil to dry out between waterings, then water thoroughly. Avoid overwatering, as this can lead to root rot.
- Soil: Plant in well-draining soil, such as a mixture of potting soil and perlite or sand.
- Temperature: Maintain temperatures between 60-80°F (15-27°C). Protect from cold drafts and temperatures below 50°F (10°C).
- Humidity: Callisia repens appreciates moderate to high humidity. Mist the foliage regularly or use a humidifier, especially in dry indoor environments.
- Fertilizing: Feed with a balanced liquid fertilizer diluted to half strength every 4-6 weeks during the growing season.
- Pruning: Trim back leggy growth to encourage bushier growth and pinch off any yellowing or damaged leaves.
How to propagate callisia repens?
Callisia repens can be propagated easily through stem cuttings:
- Select a Healthy Stem: Choose a healthy stem with several nodes.
- Cutting: Use sharp, clean scissors or pruning shears to cut a section of the stem just below a node.
- Remove Lower Leaves: Remove the lower leaves from the cutting, leaving a few leaves at the top intact.
- Planting: Plant the cutting in moist, well-draining soil or place it in a glass of water. Keep the soil consistently moist or change the water regularly.
- Rooting: Roots should develop within a few weeks. Once roots are established, transplant the cutting into a pot with potting soil.
Is callisia repens a succulent?
Callisia repens is often classified as a succulent due to its ability to store water in its leaves. However, it is more accurately described as a trailing or creeping herbaceous perennial.
Is callisia repens a tradescantia?
Callisia repens is not a Tradescantia; however, it belongs to the same family, Commelinaceae. It is often confused with certain species of Tradescantia due to similarities in appearance and growth habit.
Can callisia repens grow in water?
Callisia repens can root in water, making it suitable for propagation by placing stem cuttings in a glass of water until roots develop. However, it is best to transplant rooted cuttings into soil for long-term growth and health.
How often to water callisia repens?
Water Callisia repens when the top inch of soil feels dry to the touch. Adjust watering frequency based on environmental conditions such as temperature, humidity, and light levels. Be cautious not to overwater, as this can lead to root rot.
How to prune callisia repens?
Prune Callisia repens to maintain its desired shape and encourage bushier growth:
- Trim back leggy growth to promote a more compact and dense appearance.
- Pinch off any yellowing or damaged leaves to improve the plant’s overall appearance.
- Prune selectively to encourage branching and new growth from the nodes along the stems.
How to root callisia repens?
To root Callisia repens:
- Take a stem cutting from a healthy plant.
- Remove lower leaves to expose a node.
- Place the cutting in water or moist soil.
- Keep the cutting in a warm, bright location.
- Roots should develop within a few weeks, after which the cutting can be transplanted into soil.
If i die, water my plants!
