My Adventures with the Capsicum Pubescens: A Fiery Friend
For years, I’ve been an avid gardener, nurturing a variety of plants from vibrant flowers to plump tomatoes. But recently, I embarked on a journey into the world of fiery flavors with the Capsicum pubescens, also known as the Rocoto pepper. This unique pepper, unlike its jalapeño and habanero cousins, has captured my attention with its unique characteristics and delicious heat.
For those unfamiliar with Capsicum pubescens, it’s a fascinating member of the nightshade family boasting several distinctions. This article will be your one-stop guide to cultivating and enjoying this remarkable pepper. We’ll delve into its characteristics, explore how to grow it, and uncover some delicious ways to incorporate it into your culinary creations.
43 Species in Genus Capsicum
What Makes the Capsicum Pubescens Special?
The Capsicum pubescens stands out from the crowd in several ways. First, it’s a perennial! Unlike most peppers which are annuals, lasting just one season, the Rocoto pepper can thrive for several years with proper care. This translates to a long-term supply of fiery goodness in your garden.
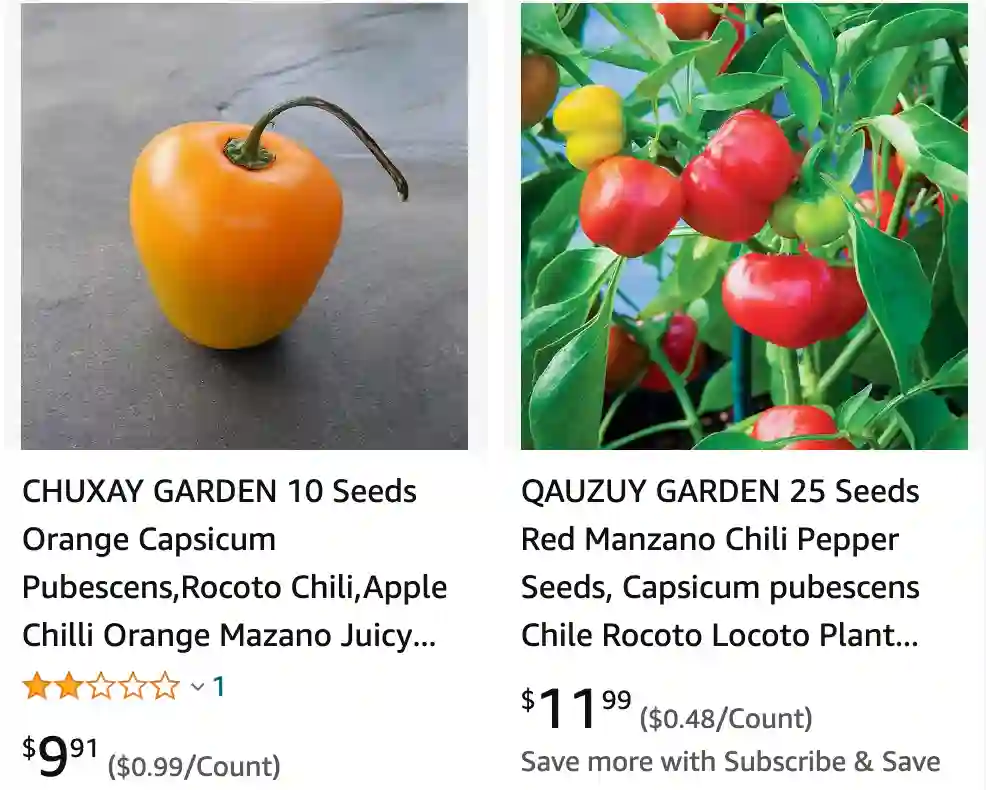
Secondly, the Capsicum pubescens boasts a unique appearance. Its fuzzy leaves, a characteristic reflected in its species name “pubescens” (meaning hairy), readily identify it. The flowers, unlike the white blooms of many peppers, are a captivating shade of purple, adding a touch of elegance to your garden. Finally, the fruits themselves come in a range of vibrant colors, from sunny yellow to fiery red, adding a pop of color to your harvest.
Capsicum Pubescens Heat: A Pleasant Surprise
Now, let’s talk about the heat! The Capsicum pubescens packs a punch, ranging from medium to hot on the Scoville scale. But unlike some peppers where the heat overpowers the flavor, the Rocoto offers a delightful balance. The spiciness builds gradually, lingering pleasantly on the palate. This characteristic makes it perfect for those who enjoy a kick without sacrificing taste.
How to Grow Capsicum Pubescens?
Ready to cultivate your own fiery friend? Here’s a step-by-step guide to growing Capsicum pubescens:
Starting from Seeds:
- Germination: Capsicum pubescens seeds can be slow to germinate, taking anywhere from 3-8 weeks. Sow them indoors in a warm location (around 70-75°F) around 8 weeks before the last frost.
- Seedling Care: Provide consistent moisture and good lighting for your seedlings. Once they reach a few inches tall and have developed several sets of true leaves, they’re ready for transplanting.
Transplanting and Care:
- Location: Choose a sunny spot in your garden with well-draining soil. Capsicum pubescens prefers slightly acidic soil (pH 6.0-6.8).
- Spacing: Plant your seedlings at least 2-3 feet apart to allow for proper growth.
- Watering: Water your Capsicum pubescens regularly, especially during hot and dry periods. Aim for consistent moisture but avoid waterlogging.
- Fertilization: A balanced fertilizer formulated for vegetables can be applied every few weeks during the growing season to encourage healthy growth and fruit production.
How to Care for Capsicum Pubescens Over Winter?
Remember, unlike most peppers, Capsicum pubescens is a perennial. In colder climates, take steps to protect your plant over winter. Here’s how:
- Bring it Indoors: Before the first frost, transplant your Capsicum pubescens to a container and bring it indoors to a sunny location.
- Reduce Watering: During the winter months, reduce watering as the plant will be less active.
- Maintain Temperature: Aim for a room temperature between 50-60°F to keep your plant happy throughout the winter.
How to Propagate Capsicum Pubescens?
Want to expand your fiery harvest? Capsicum pubescens can be easily propagated through stem cuttings. Here’s how:
- Take Cuttings: In late spring or early summer, select healthy stems with a few nodes. Cut them just below a node at an angle.
- Prepare the Cuttings: Remove the lower leaves from your cuttings and dip the cut end in rooting hormone (optional but can encourage faster rooting).
- Planting the Cuttings: Plant your cuttings in a pot filled with moist, well-draining potting mix. Cover the pot with a plastic bag to maintain humidity.
- Care for Cuttings: Place your pot in a warm, brightly lit location (not direct sunlight).
If i die, water my plants!
