Is Clematis viticella evergreen?
Clematis viticella isn’t evergreen; it loses its leaves in the fall. I remember being a bit disappointed the first time it happened, thinking I had done something wrong, but then learning that it’s perfectly normal for this type of clematis. In winter, it goes dormant, and then it springs back to life with vibrant new growth in the spring.
391 Species in Genus Clematis
When to plant Clematis viticella?
I usually plant my Clematis viticella in early spring or fall. These seasons are ideal because the weather is mild, and the plant has time to establish its roots before the intense heat of summer or the cold of winter. I found that planting it during these times gave it a good start, and it flourished beautifully.
When to prune Clematis viticella?
For pruning Clematis viticella, I generally wait until late winter or early spring. This variety flowers on new growth, so I cut it back hard, down to about 12 inches from the ground. It was a bit nerve-wracking the first time, but it’s amazing how vigorously it bounces back and produces a profusion of flowers.
Where to buy Clematis viticella?
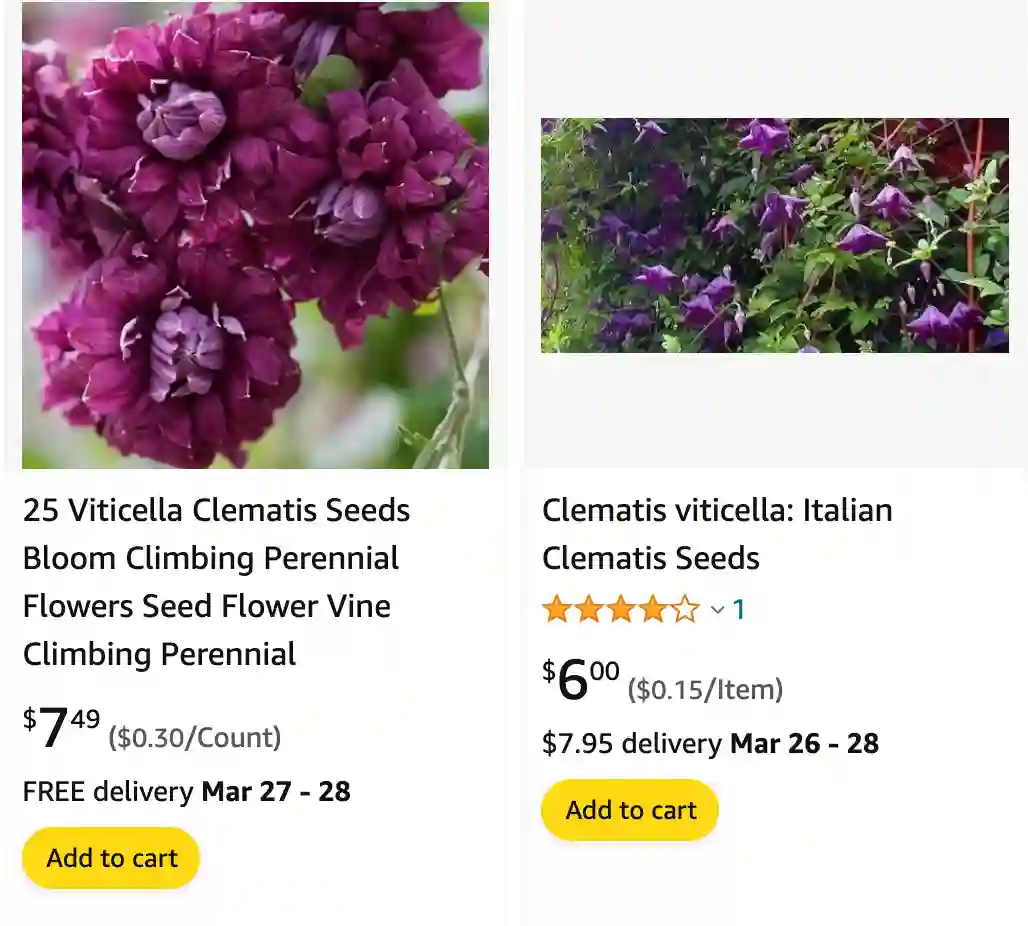
I’ve had good luck finding Clematis viticella at local nurseries and garden centers. If they don’t have it, I check online nurseries, which often have a wider selection. Sometimes, I even get recommendations from fellow gardening enthusiasts at local plant swaps or garden clubs.
How to fertilize Clematis viticella?
When it comes to fertilizing Clematis viticella, I use a balanced fertilizer in early spring as new growth begins. I usually follow up with a slow-release fertilizer or compost mid-season to keep it thriving. I’ve noticed this routine really helps in producing abundant flowers and healthy foliage.
How to plant Clematis viticella?
Planting Clematis viticella is a rewarding process that will provide you with beautiful blooms for years to come. Here’s a guide to get you started:
Timing:
- The best time to plant Clematis viticella is in spring or early to mid-autumn. This allows the plant to establish a strong root system before the harshness of winter.
- If you buy a container-grown Clematis viticella during the summer, plant it as soon as possible and water it regularly.
Location:
- Choose a location that receives at least 6 hours of sunlight daily. Morning sun is ideal, with some afternoon shade being beneficial in hot climates.
- Clematis viticella needs cool roots, so plant it where the root zone will be shaded. You can achieve this by planting near a low shrub or groundcover, or by adding a layer of mulch around the base of the plant.
Soil:
- Clematis viticella thrives in well-drained, fertile soil with a neutral to slightly alkaline pH.
- If your soil is heavy clay or sandy, amend it with organic matter like compost or well-rotted manure before planting to improve drainage and structure.
Planting Steps:
- Dig a hole: Dig a hole that is twice the width of the plant’s root ball and at least as deep.
- Amend the soil: Mix some compost or well-rotted manure into the excavated soil.
- Position the plant: Place the Clematis viticella in the hole, ensuring the crown (the point where the stems meet the roots) is positioned 3-4 inches (8-10 cm) below the soil level. For large-flowered varieties, plant even deeper, at 7 cm (3 inches). Planting deeper encourages bushier growth.
- Backfill the hole: Fill the hole back in with the amended soil, gently firming it around the plant.
- Water thoroughly: Water the plant deeply to settle the soil and ensure good hydration.
Additional Tips:
- Support: Clematis viticella is a vine and will need support to grow upright. You can provide a trellis, fence, or other climbing structure.
- Mulching: Apply a layer of mulch around the base of the plant to help retain moisture, regulate soil temperature, and suppress weeds.
How to prune Clematis viticella?
Pruning Clematis viticella involves cutting it back to about 12 inches above the ground in late winter or early spring. This heavy pruning encourages new growth, which is where the flowers will form. The first time I did this, it felt drastic, but it’s essential for a healthy, blooming plant.
If i die, water my plants!
