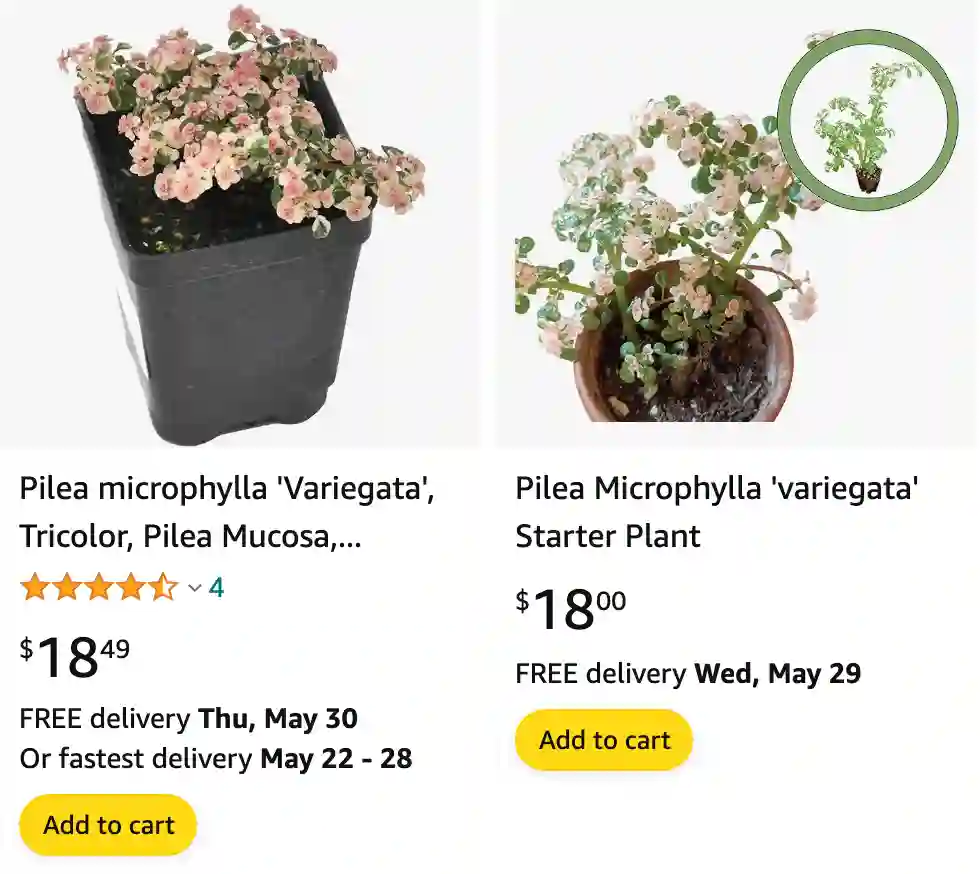
How to care for Pilea microphylla?
The Pilea microphylla, also fondly known as the Artillery Plant, is a charming houseplant with round, coin-shaped leaves. Here’s a guide to keep your Pilea microphylla thriving indoors:
609 Species in Genus Pilea
Light:
- Prefers bright, indirect sunlight. Avoid harsh direct sun, especially during the afternoon, as it can scorch the leaves.
- East or west-facing windows are ideal locations. While it can tolerate lower light conditions, growth may be slower.
Watering:
- Water your Pilea microphylla when the top inch of soil feels dry to the touch. Overwatering is a major threat, so avoid soggy soil. Allow excess water to drain freely through the pot’s drainage holes.
- Watering frequency depends on pot size, light conditions, and season. Generally, you might water once a week in summer and even less often in winter.
Humidity:
- Appreciates moderate to high humidity levels, mimicking its tropical origins. Average household humidity might suffice, but if the air is dry, consider using a pebble tray with water, a humidifier, or misting the leaves occasionally (avoiding over-misting) to increase humidity around the plant.
Temperature:
- Prefers warm temperatures between 65°F and 75°F (18°C – 24°C). Avoid cold drafts and sudden temperature fluctuations.
Soil and Potting:
- Use a well-draining potting mix. A light and airy mix is ideal. You can use a commercial potting mix or create your own by combining regular potting mix with perlite or orchid bark for added drainage.
- Repot every 1-2 years or when the plant outgrows its current pot. Choose a pot with drainage holes slightly larger than the root ball.
Fertilizing:
- Not a heavy feeder. During the growing season (spring and summer), you can fertilize once a month with a balanced houseplant fertilizer diluted to half strength. Stop fertilizing altogether during winter.
Additional Care Tips:
- Wipe leaves occasionally with a damp cloth to remove dust and improve air circulation.
- Pinch back leggy stems to encourage bushier growth. You can propagate the cuttings in water or soil to create new Pilea microphylla plants.
- Be mindful of potential pests like mealybugs and aphids. You can treat them with insecticidal soap or neem oil solution if necessary.
How to propagate Pilea microphylla?
Propagating your Pilea microphylla is a fantastic way to create new plants and share the joy of this charming Artillery Plant! Here’s a guide for two easy propagation methods: stem cuttings in water and stem cuttings in soil.
Propagation by Stem Cuttings in Water:
- Gather your supplies: You’ll need a healthy Pilea microphylla with at least a few sets of leaves, a sharp knife or pruning shears, a clean glass jar, and fresh water.
- Take a cutting: Select a healthy stem with at least 2-3 nodes (the small bumps where leaves and new growth emerge). Ideally, the cutting should be 2-4 inches long. Use your sterilized knife or shears to make a clean cut just below a node.
- Remove lower leaves: Strip away any leaves on the lower portion of the stem, leaving just 1-2 sets of leaves at the top. This allows the plant to focus its energy on root growth.
- Place the cutting in water: Fill your clean glass jar with fresh water, ensuring the lowest node is submerged. The leaves should remain above the waterline.
- Bright indirect light: Place the jar in a location with bright, indirect sunlight. Avoid direct sunlight, which can scorch the leaves.
- Change the water: Refresh the water every 3-4 days to prevent bacteria growth.
- Wait for roots to develop: Be patient! Root development can take several weeks to a month. Once the roots reach about an inch long, your Pilea microphylla cutting is ready to be planted in soil.
Propagation by Stem Cuttings in Soil:
- Prepare your pot and soil: Choose a pot with drainage holes slightly larger than the diameter of your cutting. Fill it with a well-draining potting mix. A light and airy mix is ideal. You can use a commercial potting mix or create your own by combining regular potting mix with perlite or orchid bark for added drainage.
- Prepare the cutting: Similar to water propagation, take a 2-4 inch stem cutting with at least 2-3 nodes and remove the lower leaves.
- Optional: Dipping in rooting hormone: While not essential, dipping the cut end of the stem in rooting hormone can encourage root growth.
- Planting the cutting: Make a hole in the center of your potting mix slightly deeper than the length of the bare stem. Gently insert the cutting and firm the soil around the base.
- Water thoroughly: Water the soil until moist but not soggy.
- Maintain humidity: Create a humid environment around the cutting by enclosing the pot loosely in a clear plastic bag or using a humidity tray.
- Bright indirect light: Place the potted cutting in a location with bright, indirect sunlight. Avoid direct sunlight.
- Patience is key: Rooting in soil can take a few weeks to a month. Signs of successful propagation include new growth appearing on the stem.
- Reduce humidity gradually: Once new growth appears, gradually remove the plastic bag or humidity tray to acclimate the plant to lower humidity levels.
- Water as needed: Allow the top inch of soil to dry out between waterings.
Following these steps will increase your chances of successfully propagating your Pilea microphylla. Remember, providing the right environment and care is crucial for successful propagation. Happy planting!
If i die, water my plants!
