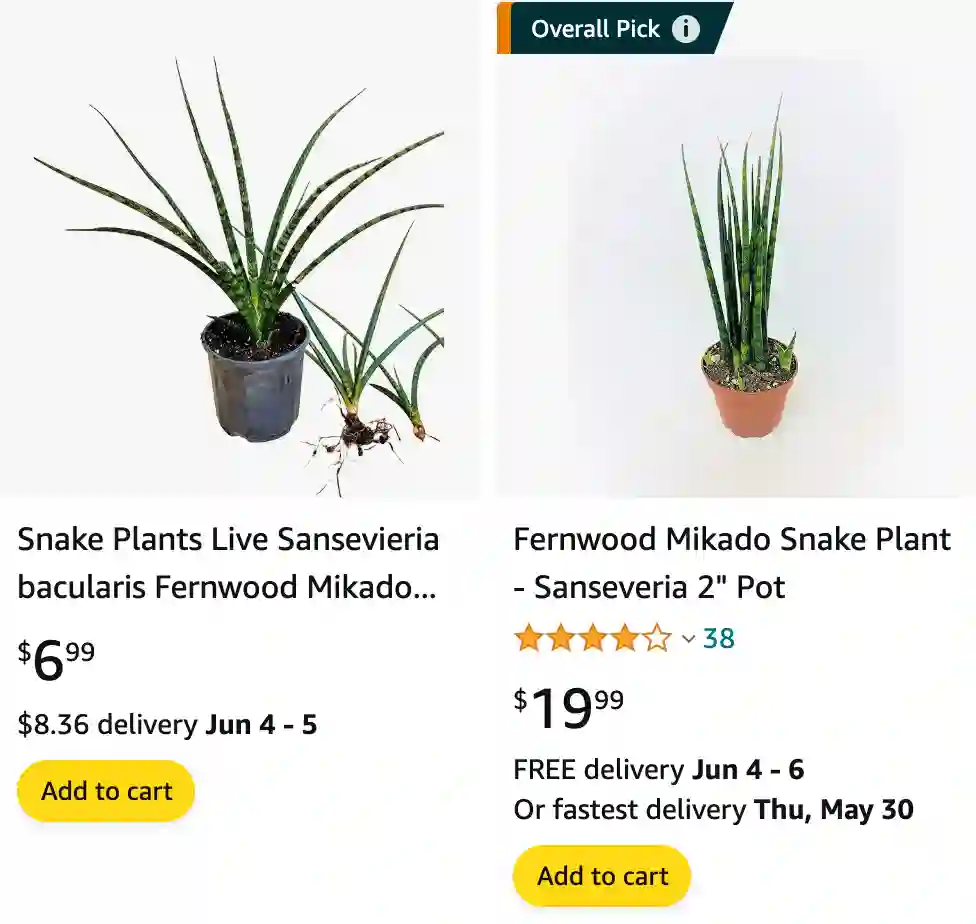
Sansevieria Bacularis vs Cylindrica
I love how my Sansevieria Bacularis stands tall with its slender, elegant leaves, but my Sansevieria Cylindrica has a unique charm with its striking, spear-like shape that always grabs attention.
Sansevieria Bacularis vs Fernwood
Comparing my Sansevieria Bacularis to my Sansevieria Fernwood, I appreciate the Bacularis for its minimalist, sleek look, while the Fernwood’s wavy, textured leaves give a lush, wild vibe to my space.
How to care for Sansevieria bacularis?
The Sansevieria bacularis, also known as the Cylindrical Snake Plant or Mikado Snake Plant, is a popular succulent prized for its architectural form and low-maintenance needs. Here’s a guide on how to care for it and keep it thriving in your home:
Light:
- Bright Indirect Light: Sansevieria bacularis prefers bright indirect sunlight. It can tolerate some direct sun, but too much harsh sun exposure can scorch the leaves.
- Adaptable to Lower Light: This succulent can adapt to lower light conditions, but flowering (which is rare) is less likely.
Watering:
- Water Thoroughly, Then Let Dry Completely: The key to watering Sansevieria bacularis is to avoid overwatering. Water the plant thoroughly when the soil is completely dry to the touch. Excess moisture can lead to root rot.
- Frequency: The frequency of watering will depend on the light conditions, pot size, and temperature. In general, you might water every 2-3 weeks during the growing season (spring and summer) and even less frequently in winter.
Soil:
- Well-Draining is Essential: Use a well-draining potting mix specifically formulated for cacti and succulents. This allows for proper drainage and aeration to prevent root rot.
- DIY Mix: You can create your own succulent mix by combining potting soil with perlite or sand to improve drainage.
Potting:
- Choose the Right Pot: Select a pot with drainage holes to allow excess water to drain away. The pot size should be slightly larger than the root ball of your Sansevieria bacularis.
Fertilizing:
- Light Feeder: Sansevieria bacularis is not a heavy feeder. A diluted dose of balanced fertilizer once during the growing season is sufficient. Avoid over-fertilizing, as it can damage the plant.
Temperature:
- Prefers Warmth: This succulent prefers warm temperatures between 65°F and 80°F (18°C – 27°C). Avoid exposing it to cold drafts or temperatures below 50°F (10°C).
Humidity:
- Adaptable to Average Humidity: Sansevieria bacularis tolerates average indoor humidity levels. You don’t need to provide extra humidity unless the air is very dry.
Pests and Diseases:
- Generally Resistant: Sansevieria bacularis is generally resistant to pests and diseases. However, watch for common houseplant problems like mealybugs or scale insects. You can treat them with insecticidal soap or neem oil if necessary.
Additional Tips:
- Cleaning Leaves: You can occasionally wipe the leaves with a damp cloth to remove dust and maintain their shine. Avoid using harsh chemicals.
- Repotting: Repot your Sansevieria bacularis every 2-3 years or when the plant outgrows its current pot.
How to propagate Sansevieria bacularis?
There are two main methods for propagating your Sansevieria bacularis: division and leaf cuttings. Here’s a guide for each method:
Propagation by Division:
This method is best suited for mature Sansevieria bacularis plants that have formed clumps or pups (baby plants) around the base.
What you’ll need:
- Sharp knife or pruners (sterilized with rubbing alcohol)
- Potting mix for cacti and succulents
- Pots with drainage holes (sized appropriately for the divisions)
Steps:
- Gently remove your Sansevieria bacularis from its pot. Loosen the soil around the edges and carefully slide the plant out.
- Identify the clumps or pups. Look for sections with separate clusters of leaves and their own root systems.
- Using the sterilized knife or pruners, carefully separate the divisions from the main plant. Make clean cuts to ensure each division has healthy leaves and a portion of the root system.
- Allow the cut ends of the divisions to dry for a few days. This helps prevent rot.
- Prepare your pots. Fill the pots with well-draining cactus and succulent potting mix.
- Plant the divisions. Position them in the pots, ensuring the base of the leaves is slightly above the soil level.
- Water thoroughly. Water the soil until excess moisture drains from the drainage holes.
- Place the newly propagated Sansevieria bacularis divisions in a location with bright indirect light. Avoid overwatering, and water only when the soil dries out completely.
Propagation by Leaf Cuttings:
This method can take longer for success than division, but it’s a good option if you don’t have pups or large clumps available.
What you’ll need:
- Sharp knife or pruners (sterilized with rubbing alcohol)
- Potting mix for cacti and succulents
- Pot with drainage hole
- Clear plastic bag (optional)
Steps:
- Choose a healthy leaf from your Sansevieria bacularis. Select a plump, firm leaf that’s free of damage.
- Using the sterilized knife or pruners, cut the leaf horizontally into sections. Each section should be at least 2-3 inches long. Try to cut them at a slant for better rooting.
- Allow the leaf cuttings to dry for a few days. This helps prevent rot.
- Prepare your pot. Fill the pot with well-draining cactus and succulent potting mix.
- Insert the leaf sections upright into the potting mix, burying the cut end about 1 inch deep.
- Water lightly. Moisten the soil slightly, but avoid overwatering.
- (Optional) Cover the pot loosely with a clear plastic bag. This can help maintain humidity around the cuttings. However, ensure there’s some air circulation to prevent rot.
- Place the pot in a location with bright indirect light. Keep the soil slightly moist but not soggy.
Additional Tips:
- Rooting Time: It can take several weeks or even months for roots to develop from the leaf cuttings. Be patient and maintain consistent moisture levels.
- New Growth: Once roots establish, new shoots will eventually emerge from the base of the leaf section.
- Humidity and Temperature: Maintaining slightly higher humidity levels around the leaf cuttings (using a plastic bag) can be helpful, but ensure there’s air circulation. Warm temperatures (around 65°F to 80°F) are also beneficial for successful propagation.
- Thinning: If multiple shoots emerge from a single leaf cutting, you can eventually thin them out to keep the strongest one.
If i die, water my plants!
